SUBMISSIONS CLOSE AT 4:30 PM EST ON DECEMBER 24TH!
Let's make a blog with Astro and Markdown!
This workshop will hopefully tech you how to make a simple blog using Astro in about 2 to 3 hours :3
The example project for this workshop can be found here: https://haxmas-day-11.shymike.dev
If you have any questions, feel free to ask DM me (@miggy) on Slack!
You can folow the guide on the github repository if you want syntax highlighting on the code blocks!
Have fun!
| Prizes |
|---|
| 10$ domain grant |
| 1 snowflake |
Prerequisites
Before starting this workshop, make sure you have the following installed on your machine:
- Bun (npm also works but I will be using Bun)
- A GitHub account
- An IDE (I will be using VSCode)
- A Cloudflare account (or any other hosting provider that supports Astro, the guide will use Cloudflare)
Cloudflare will be used in this guide to host the blog but you can use any other hosting provider that supports Astro! (Vercel, Netlify, etc)
1) Create a new Astro project
To start, set up a new Astro project by running the following command in your terminal:
bun create astro@latest -- --template minimalGive your project a name (e.g., haxmas-day-11) and navigate into the project's directory:
cd haxmas-day-11Then install the base dependencies with:
bun iWoah! That was easy! :D
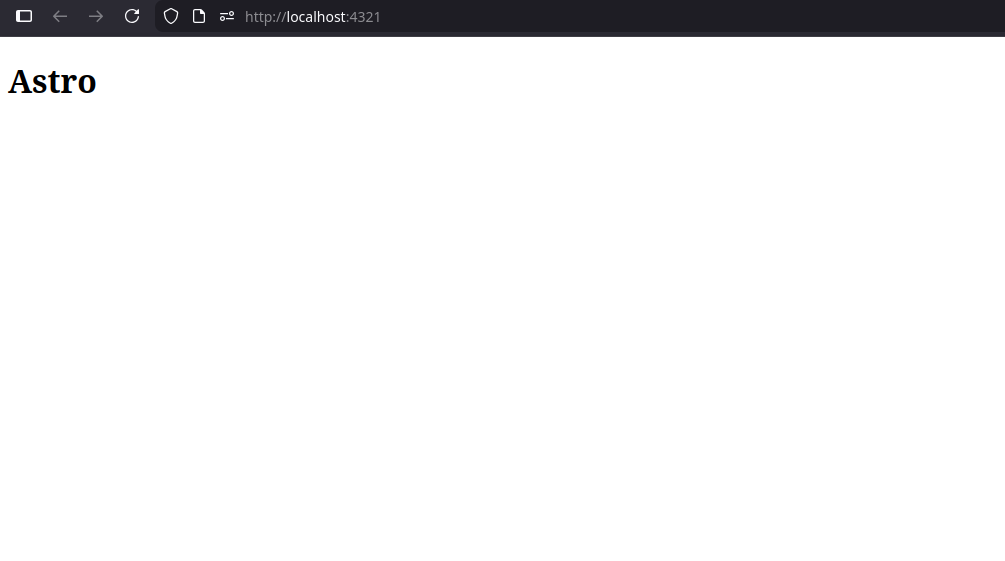
Now start the development server with:
bun devYou should now be able to head over to http://localhost:4321 and see your new Astro project running!
2) Installing dependencies
No extra dependencies are required but if you are familiar with tailwindcss, you can install it by running:
bun astro add tailwind3) The structure
The final structure of the project should look like this:
src
├── assets
├── components
│   └── FormattedDate.astro
├── content
│   └── posts
├── layouts
│   └── BlogPost.astro
├── pages
│   ├── posts
│   │   ├── [...slug].astro
│   │   └── index.astro
│   └── index.astro
├── styles
│   ├── global.css
│   └── post.css
└── content.config.ts
If you want a starting point for styling, you can copy the CSS files in this folder. (I'll be using this styling throughout the workshop)
Don't worry about the contents of each file yet, that will be done later :P
4) Configuring content
Astro will need to read and parse our markdown files, for that we will need to configure stuff in content.config.ts so the posts in src/content/posts can be read properly.
import { defineCollection, z } from 'astro:content';
import { glob } from 'astro/loaders';

const blog = defineCollection({
    // Tell Astro where to look for blog posts
    loader: glob({ base: './src/content/posts', pattern: '**/*.md' }),
    // Schema of the data in each markdown file (using Zod)
    schema: ({ image }) =>
        z.object({
            title: z.string(),
            description: z.string(),
            pubDate: z.coerce.date(),
            heroImage: image().optional(),
        }),
});

// Export the collection
export const collections = { blog };
Astro can now read and parse our markdown files! Let's create some blog posts! :3
5) Creating blog posts
To create a blog post, create a new markdown file in the src/content/posts directory.
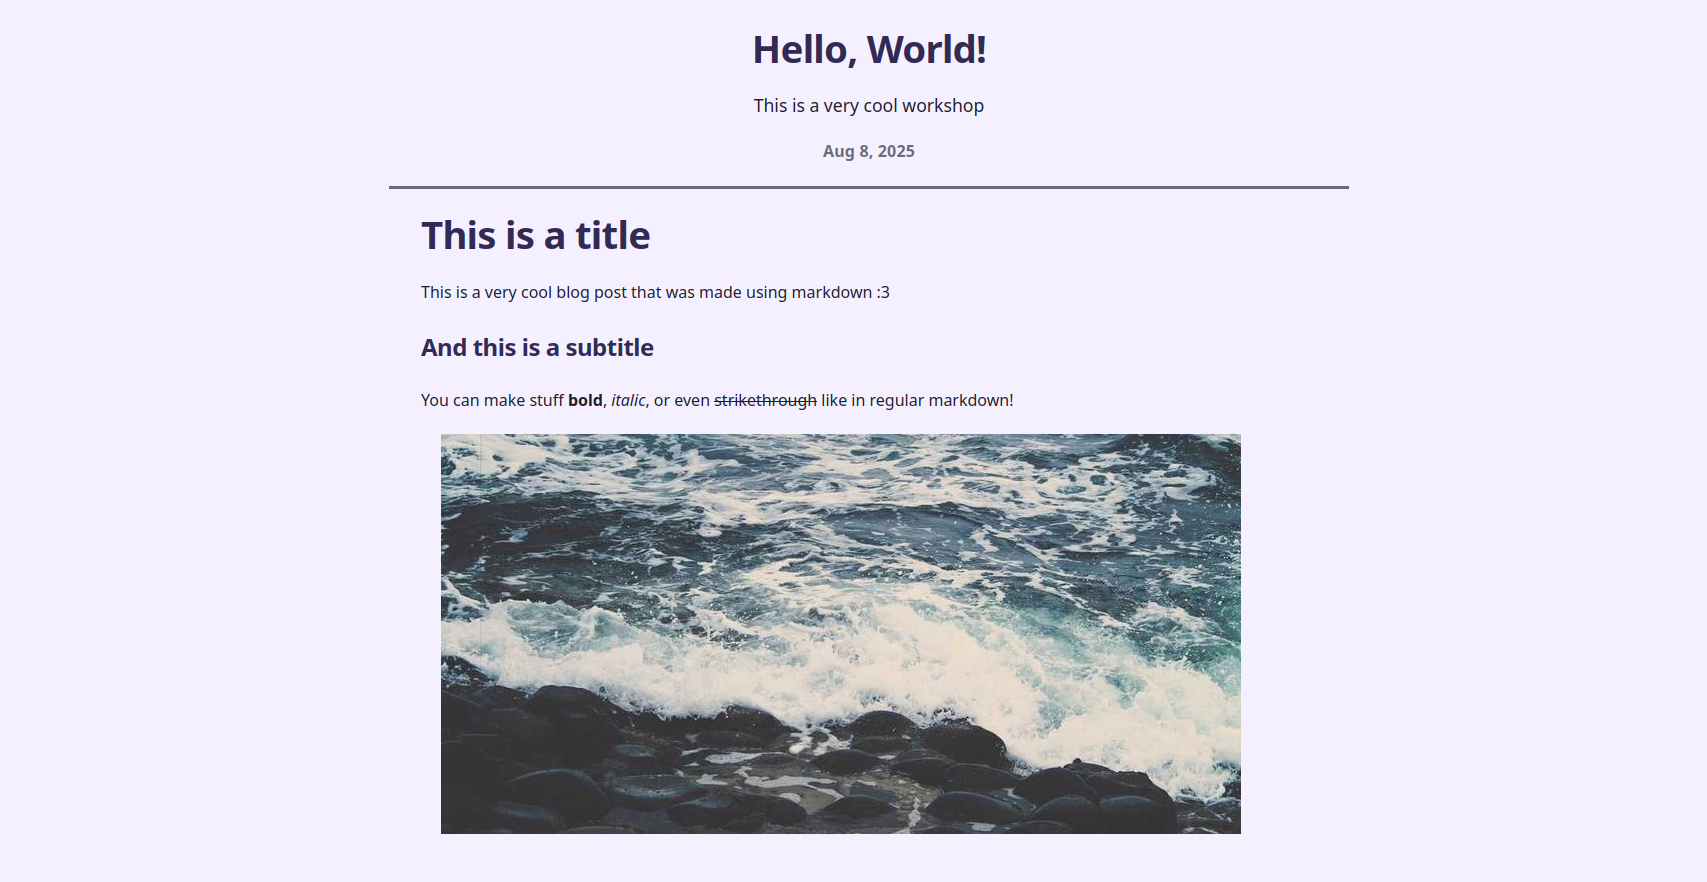
I will be using the following markdown file as an example: hello-world.md
---
title: Hello, World!
description: This is a very cool workshop
pubDate: Aug 08 2025
---
# This is a title
This is a very cool blog post that was made using markdown :3
## And this is a subtitle
You can make stuff __bold__, *italic*, or even ~~strikethrough~~ like in regular markdown!
6) Making the homepage
The homepage is defined by the src/pages/index.astro file, you can see it at http://localhost:4321.
If you want a simple template, you can use the following snippet:
---
// Import CSS styles
import '../styles/global.css';
---

<html lang="en">
    <head>
        <meta charset="utf-8" />
        <link rel="icon" type="image/svg+xml" href="/favicon.svg" />
        <meta name="viewport" content="width=device-width" />
        <meta name="generator" content={Astro.generator} />
        <title>Astro</title>
    </head>
    <body>
        <main class="page-shell home">
            <div class="page-header">
                <h1>Astro</h1>
                <p class="tagline">Such a jolly blog!</p>
                <a href="/posts" class="posts-link">See Posts</a>
            </div>
        </main>
    </body>
</html>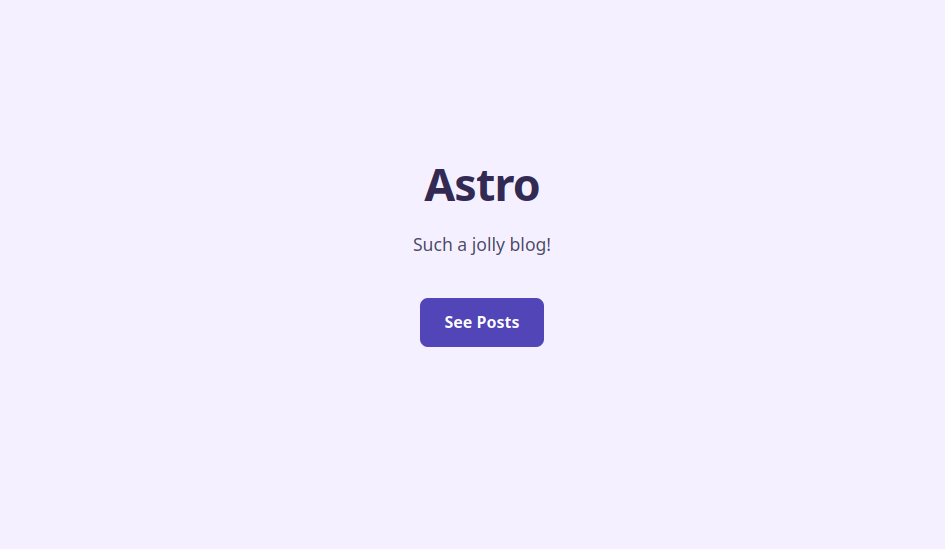
7) Displaying blog posts
To display a blog post, we will first need to create a layout and a page to render the blog posts :p
That's exactly what BlogPost.astro and posts/[...slug].astro are for!
The layout file will be used to structure the blog post page, while the slug file will be used to match the url to the correct blog post.
src/layouts/BlogPost.astro:
---
import { Image } from 'astro:assets';
import type { CollectionEntry } from 'astro:content';

// Import the FormattedDate component
import FormattedDate from '../components/FormattedDate.astro';

// Import CSS styles
import '../styles/global.css';
import '../styles/post.css';

// Get the blog post data from props
type Props = CollectionEntry<'blog'>['data'];
const { title, description, pubDate, heroImage } = Astro.props;
---
<div class="post-page page-shell">
    <article class="post">
        <!-- Header with post data -->
        <header>
            <h1>{title}</h1>
            <p class="description">{description}</p>
            {heroImage && (
                <Image src={heroImage} format="webp" alt={title} class="hero" />
            )}
            <p class="date">
                <FormattedDate date={pubDate} />
            </p>
        </header>

        <!-- The post's content will be rendered in the slot tag -->
        <div class="body">
            <slot />
        </div>
    </article>
</div>src/pages/posts/[...slug].astro:
---
import { type CollectionEntry, getCollection, render } from 'astro:content';
import BlogPost from '../../layouts/BlogPost.astro';

// This is used to generate static paths for all blog posts
export async function getStaticPaths() {
    const posts = await getCollection('blog');
    return posts.map((post) => ({
        params: { slug: post.id },
        props: post,
    }));
}

// Get the blog post data from props
type Props = CollectionEntry<'blog'>;
const post = Astro.props;

// Render the markdown content to HTML
const { Content } = await render(post);
---

<BlogPost {...post.data}>
    <Content />
</BlogPost>
Oh no! We're missing a FormattedDate component!
Wait, what's a component? It's reusable piece of code that can be used in many different places on your website.
Let's add the missing component by in src/components/FormattedDate.astro:
---
interface Props {
    date: Date;
}

const { date } = Astro.props;
---

<time datetime={date.toISOString()}>
    {
        date.toLocaleDateString('en-us', {
            year: 'numeric',
            month: 'short',
            day: 'numeric',
        })
    }
</time>
8) It exists?
You can now head over to http://localhost:4321/posts/hello-world (or whatever you named your markdown file) to see your blog post live!
(if you see an error about missing content or incorrect types, stop the dev server and start it again with bun dev)
The styling is currently very basic and you need to tweak it and make it your own before submitting!
You may have noticed that we're missing a page to list all blog posts, let's add that next!
9) Listing blog posts
The page that will be used to list all blog posts will be /posts and the file for that is src/pages/posts/index.astro.
It will fetch all blog posts from the content collection (folder of markdown files) and display them in a list.
---
import { getCollection } from 'astro:content';
import FormattedDate from '../../components/FormattedDate.astro';
// Import CSS styles
import '../../styles/global.css';
// Sort posts by publication date, most recent first
const posts = (await getCollection('blog')).sort(
(a, b) => b.data.pubDate.valueOf() - a.data.pubDate.valueOf()
);
---
<div class="posts-page page-shell">
<!-- Text above list of posts -->
<header class="page-header">
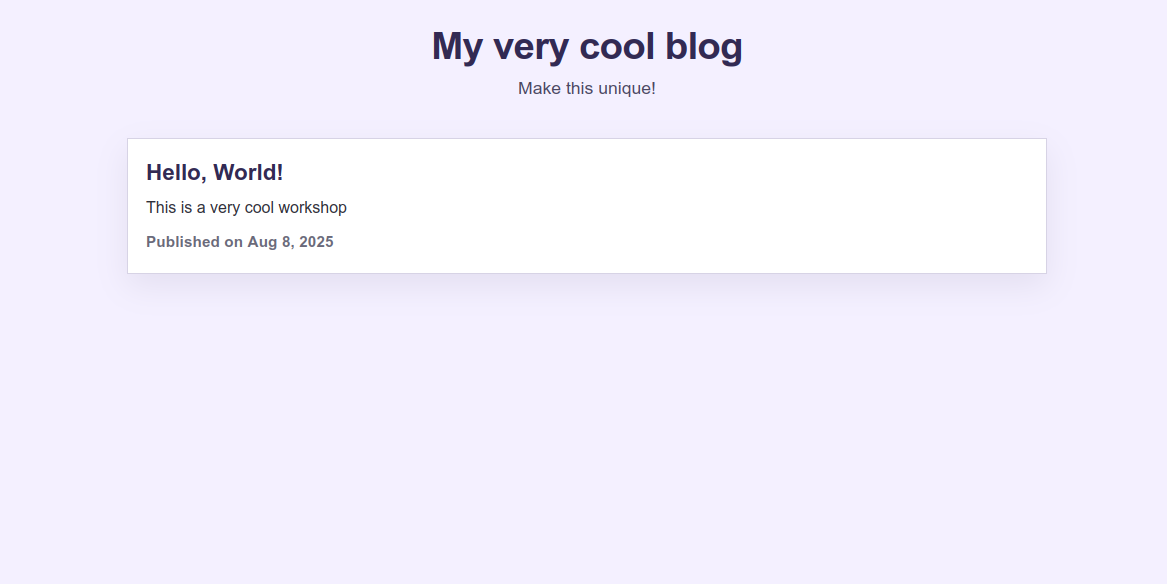
<h1>My very cool blog</h1>
<p class="tagline">Make this unique!</p>
</header>
{posts.length === 0 && <p class="empty">No posts yet :(</p>}
<!-- Container with the list of blog posts -->
<div class="posts">
{posts.map((post) => (
<article class="post-card">
<a href={`/posts/${post.id}`} class="title-link">
{post.data.title}
</a>
<p class="description">{post.data.description}</p>
<p class="meta">
Published on <FormattedDate date={post.data.pubDate} />
</p>
</article>
))}
</div>
</div>You can now head over to http://localhost:4321/posts to see all your blog posts!
10) Styling
Before submitting, make sure to customize the blog's styling to make it your own!
I'll also ask that you make your own blog post, it doesn't need to be anything complex or huge, you can make a tiny and silly post :P
Need help with Astro? Check out the Astro documentation!
Want to implement more features into your blog? Check out Astro's official blog guide!
11) Deploying to Cloudflare Pages
You can use any hosting provider that supports Astro if you know how to use it!
To deploy your very amazing blog to Cloudflare Pages:
-
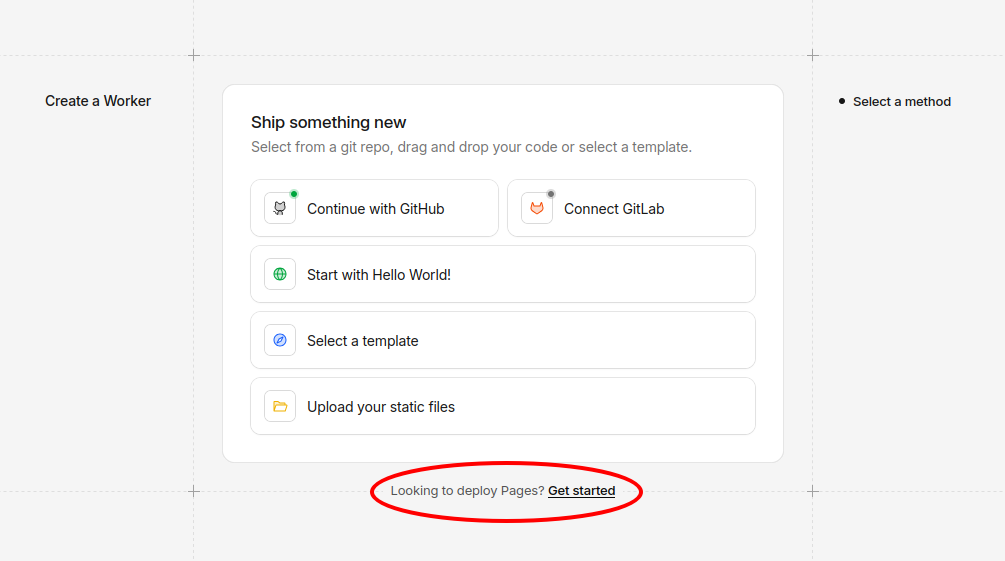
Go to the Cloudflare Pages website and log in to your Cloudflare account.
-
Click on
Create Application, then click the small text on the bottom sayingLooking to deploy Pages? Get started.
-
After that, select
Import an existing Git repositoryand add your GitHub account. -
Find your project's repository, select it and hit
Begin setup. -
Edit the following settings:
- Project name: Your project name
- Framework preset:
Astro - Build command:
bun run build
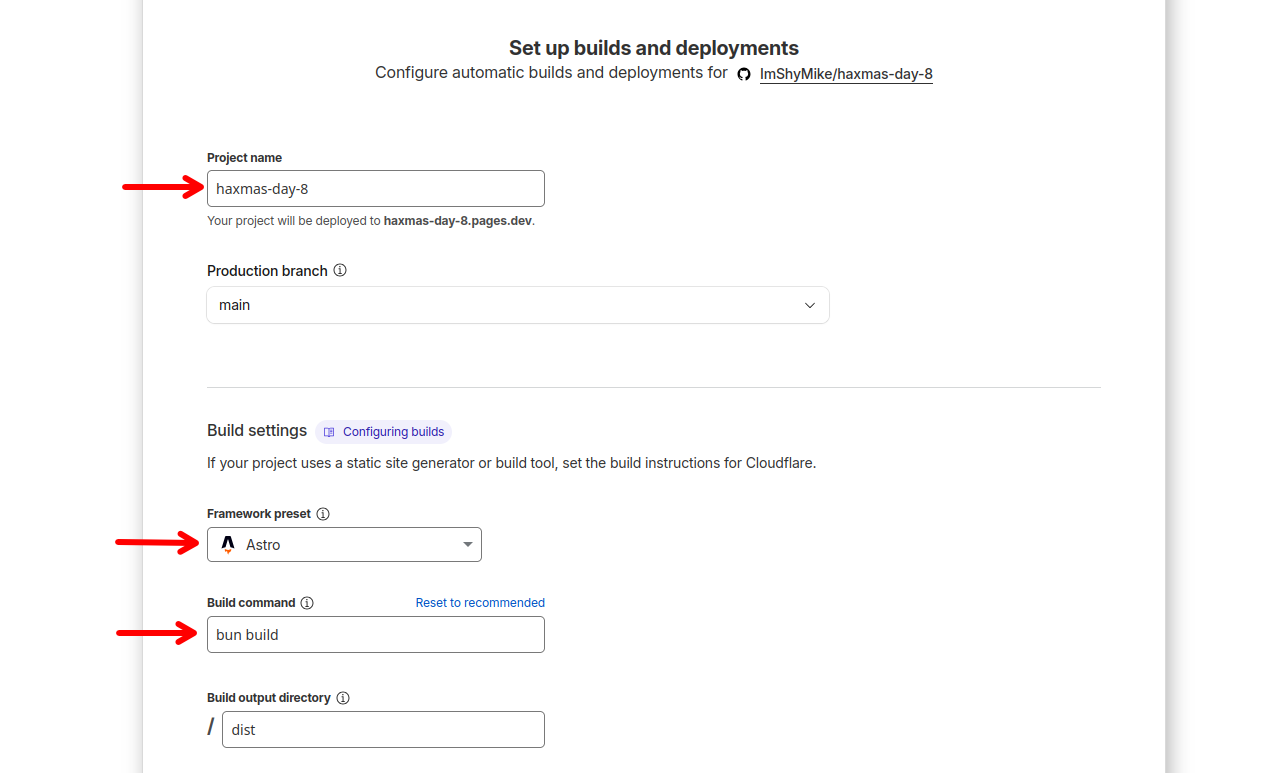
- Click
Save and Deploy.
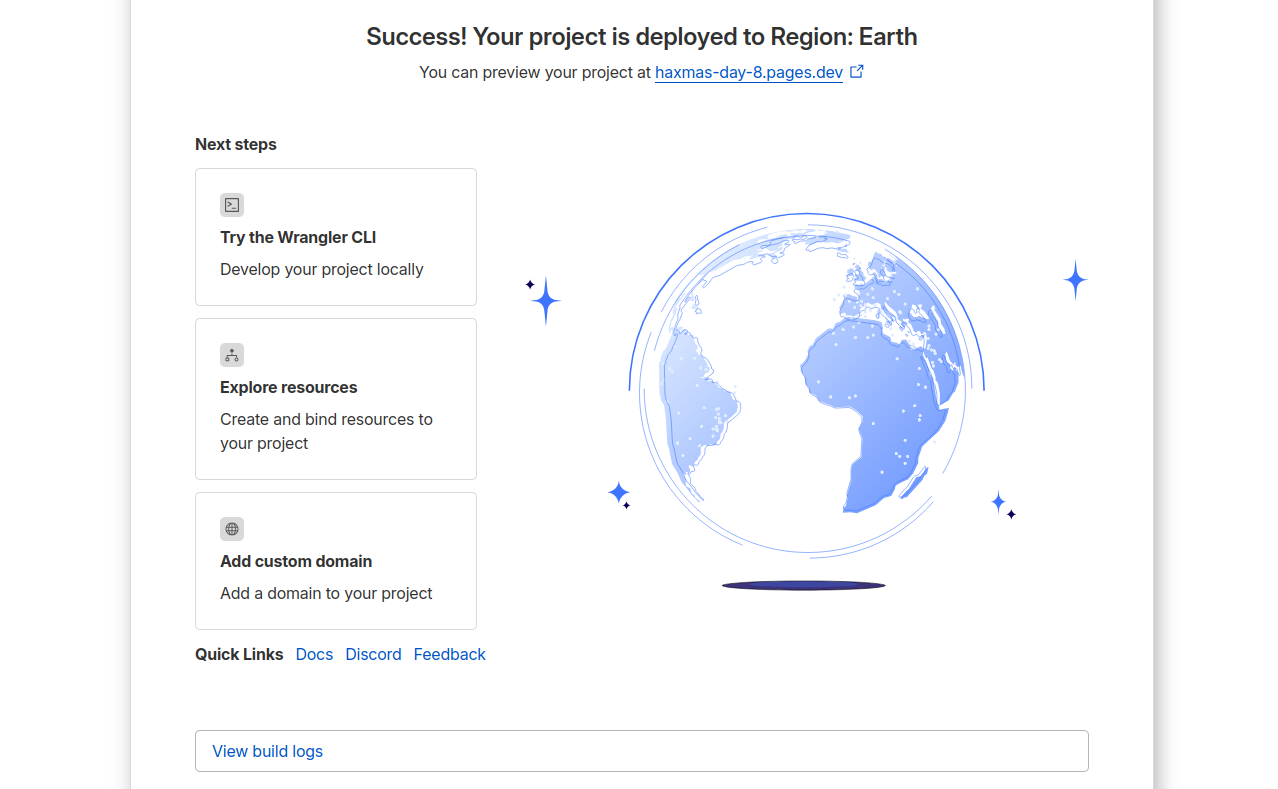
You're done! After a few seconds, your blog should be live on Cloudflare Pages!