Avik-creator/peerFileShare
🌐 PeerShare
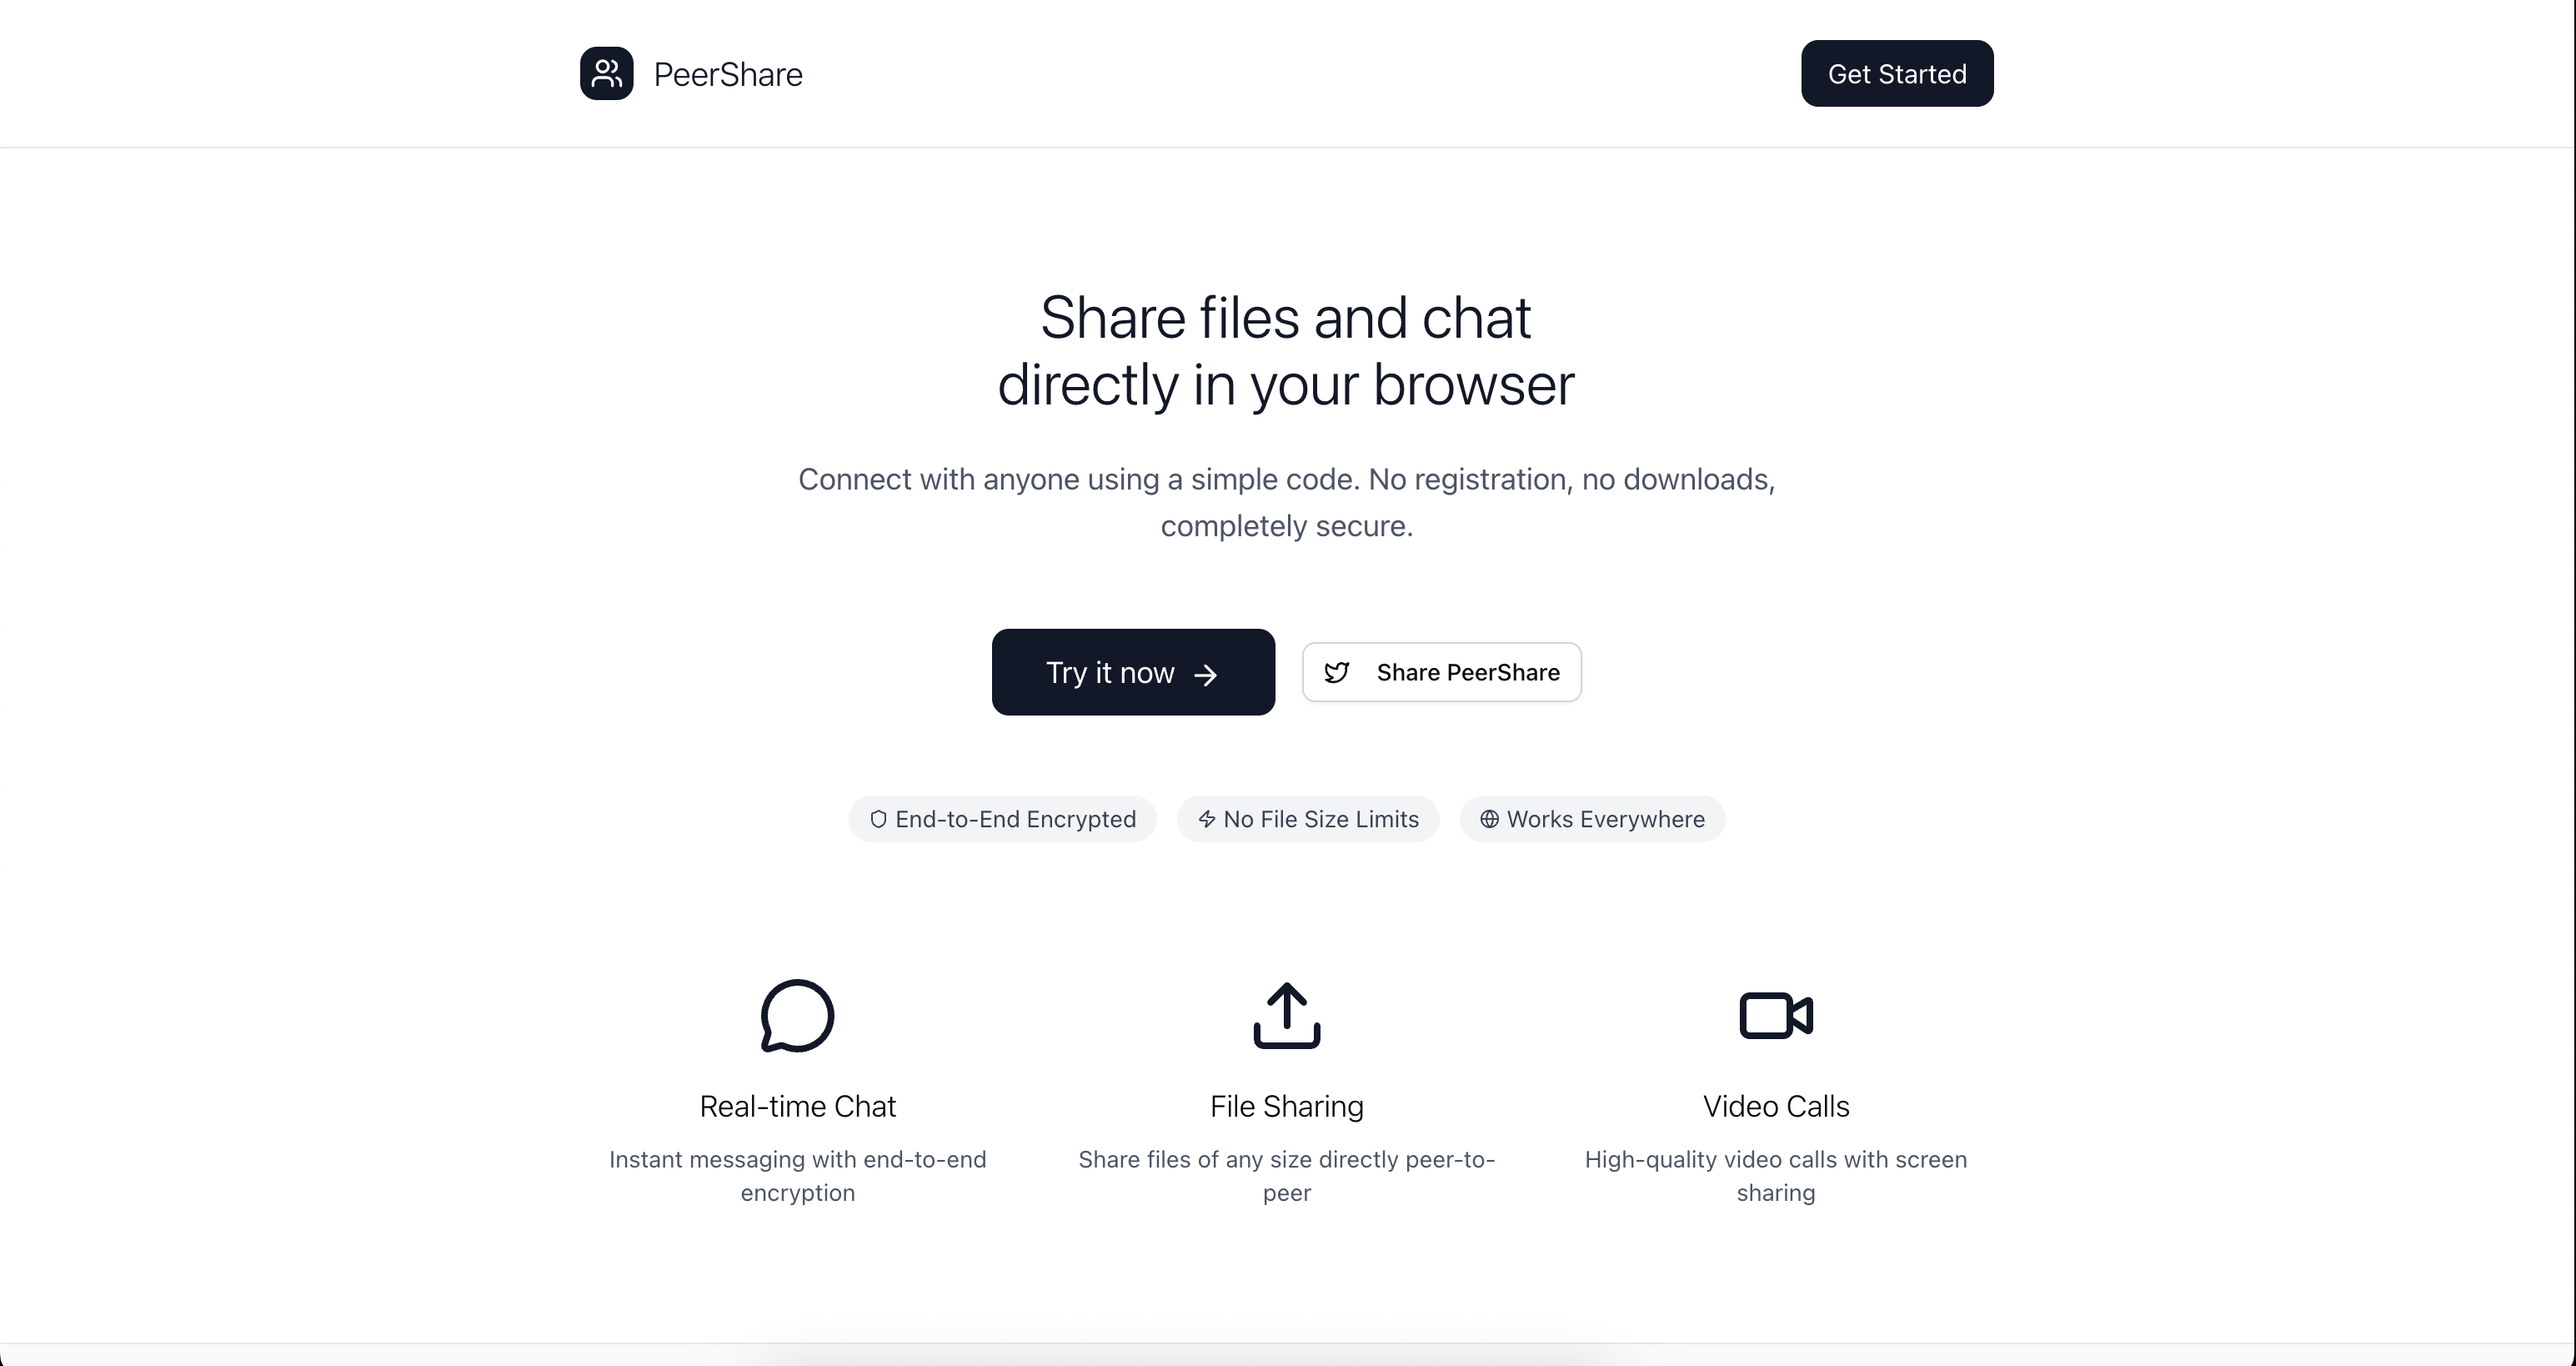
A modern, secure peer-to-peer file sharing and video calling application built with Next.js and WebRTC technology. Share files instantly and make HD video calls without any servers storing your data.
✨ Features
🔄 Peer-to-Peer File Sharing
- Instant file transfer - Share files of any size directly between devices
- No file size limits - Transfer large files without server restrictions
- Automatic downloads - Files are automatically downloaded when received
- Real-time progress - See file transfer status in real-time
📹 HD Video Calling
- High-quality video calls - Crystal clear video communication
- Audio/Video controls - Toggle camera and microphone on/off
- Responsive interface - Works seamlessly on desktop and mobile
- Caller identification - See who's calling with user names
💬 Real-time Chat
- Instant messaging - Send messages in real-time during connections
- Message history - Keep track of your conversation
- File sharing notifications - Get notified when files are shared
- Beautiful UI - Modern, gradient-based chat interface
🔒 Security & Privacy
- End-to-end encrypted - All communications are encrypted
- No server storage - Files never touch our servers
- Direct peer connections - Data flows directly between devices
- Session-based - Connection codes expire when you refresh
📱 Social Features
- Twitter sharing - Share your PeerShare experience on Twitter
- Success celebrations - Share successful file transfers with friends
- Social promotion - Help spread the word about secure P2P sharing
🚀 Technologies Used
- Next.js 15.4.5 - React framework for production
- TypeScript - Type-safe JavaScript
- PeerJS - WebRTC peer-to-peer connections
- Tailwind CSS 4 - Utility-first CSS framework
- Radix UI - Unstyled, accessible UI components
- Sonner - Toast notifications
- Lucide React - Beautiful SVG icons
🏃♂️ Quick Start
Prerequisites
- Node.js (v18 or higher)
- npm, yarn, pnpm, or bun
Installation
-
Clone the repository
git clone https://github.com/yourusername/peershare.git cd peershare -
Install dependencies
npm install
# or
yarn install
# or
pnpm install
# or
bun install
-
Start the development server
npm run dev
# or
yarn dev
# or
pnpm dev
# or
bun dev
-
Open your browser
Navigate to http://localhost:3000 to see PeerShare in action!
Or visit the live demo at peershare.avikmukherjee.me
📖 How to Use
🔗 Connecting with Someone
- Enter your name when you first visit the app
- Share your connection code - Copy the unique code displayed on your screen
- Connect to others - Enter someone else's connection code to connect
- Start sharing! - Once connected, you can chat, share files, and make video calls
📁 Sharing Files
- Click the "Share File" button
- Select any file from your device
- The file will be instantly sent to the connected person
- They'll receive a notification and the file will download automatically
📹 Making Video Calls
- Click "Start Video Call" to initiate a call
- The other person will see an incoming call notification with your name
- They can Accept or Decline the call
- During the call, you can:
- Toggle your camera on/off
- Mute/unmute your microphone
- End the call anytime
💬 Chatting
- Type messages in the chat box and press Enter to send
- See real-time message history
- Get notifications when files are shared
- All messages are displayed with timestamps and sender names
- Share your experience on Twitter with built-in social features
📁 Project Structure
fileshare/
├── src/
│   ├── app/
│   │   ├── chat/
│   │   │   └── page.tsx          # Main chat application
│   │   ├── globals.css           # Global styles
│   │   ├── layout.tsx            # Root layout
│   │   └── page.tsx              # Home page
│   ├── components/
│   │   └── ui/                   # Reusable UI components
│   │       ├── alert.tsx
│   │       ├── badge.tsx
│   │       ├── button.tsx
│   │       ├── card.tsx
│   │       ├── input.tsx
│   │       ├── scroll-area.tsx
│   │       ├── separator.tsx
│   │       └── sonner.tsx
│   └── lib/
│       └── utils.ts              # Utility functions
├── public/                       # Static assets
├── package.json                  # Dependencies and scripts
├── tailwind.config.js           # Tailwind configuration
├── tsconfig.json                # TypeScript configuration
└── next.config.ts               # Next.js configuration
🔧 Available Scripts
# Development
npm run dev          # Start development server

# Production
npm run build        # Build for production
npm run start        # Start production server

# Code Quality
npm run lint         # Run ESLint
🌍 Deployment
Deploy on Vercel (Recommended)
The easiest way to deploy PeerShare is using Vercel:
- Push your code to GitHub
- Connect your repository to Vercel
- Deploy with one click!
Live Example: peershare.avikmukherjee.me (deployed on Vercel)
Deploy on Netlify
- Build the project:
npm run build - Deploy the
out/folder to Netlify
Self-Hosting
- Build the project:
npm run build - Start the server:
npm run start - Access at
http://localhost:3000
🛠️ Customization
Themes and Colors
The app uses Tailwind CSS with a custom color scheme. You can modify colors in:
tailwind.config.js- Global theme configurationsrc/app/globals.css- CSS custom properties
UI Components
All UI components are built with Radix UI and can be customized in the src/components/ui/ directory.
🐛 Troubleshooting
Common Issues
Connection fails:
- Check if both users are on the same network type (both on WiFi or both on mobile data works better)
- Try refreshing the page to get new connection codes
- Ensure both browsers support WebRTC (most modern browsers do)
Video call not working:
- Grant camera and microphone permissions when prompted
- Check if other applications are using your camera
- Try using a different browser (Chrome/Firefox recommended)
Files not downloading:
- Check browser download settings
- Ensure pop-ups are allowed for the site
- Try with a smaller file first
🤝 Contributing
We welcome contributions! Here's how you can help:
- Fork the repository
- Create a feature branch:
git checkout -b feature/amazing-feature - Commit your changes:
git commit -m 'Add amazing feature' - Push to the branch:
git push origin feature/amazing-feature - Open a Pull Request
Development Guidelines
- Follow the existing code style
- Add TypeScript types for new features
- Test your changes thoroughly
- Update documentation as needed
🙏 Acknowledgments
- PeerJS for making WebRTC simple
- Vercel for the amazing Next.js framework
- Radix UI for accessible components
- Tailwind CSS for rapid styling
📞 Support
If you have any questions or run into issues:
- 🌐 Try the live demo
- 🐛 Report a bug
- 💡 Request a feature
- 💬 Join discussions
- 🐦 Follow on Twitter for updates
No servers. No tracking. Just pure peer-to-peer connection.
🌐 Try PeerShare Now | 🐦 Share on Twitter